
Dryers, those tireless workhorses of the laundry room, keep our clothes warm and fluffy. But before you can toss in that wet load, there’s a crucial step: ensuring the dryer is properly connected. This involves understanding dryer plug wiring, a task that might seem daunting at first. Fear not, intrepid do-it-yourselfers! This comprehensive guide will equip you with the knowledge and confidence to tackle dryer plug wiring safely and effectively.
The Power of Plugs: Understanding Dryer Electricity
Most dryers in the United States operate on a 240-volt circuit, which delivers twice the voltage of a standard household outlet. This increased power allows the dryer to generate the high heat necessary for efficient drying. To handle this extra voltage, dryer plugs have a unique four-pronged design, contrasting with the three-pronged plugs used for most appliances.
The Anatomy of a Dryer Plug
Let’s delve into the specifics of a dryer plug. Each prong serves a distinct purpose:
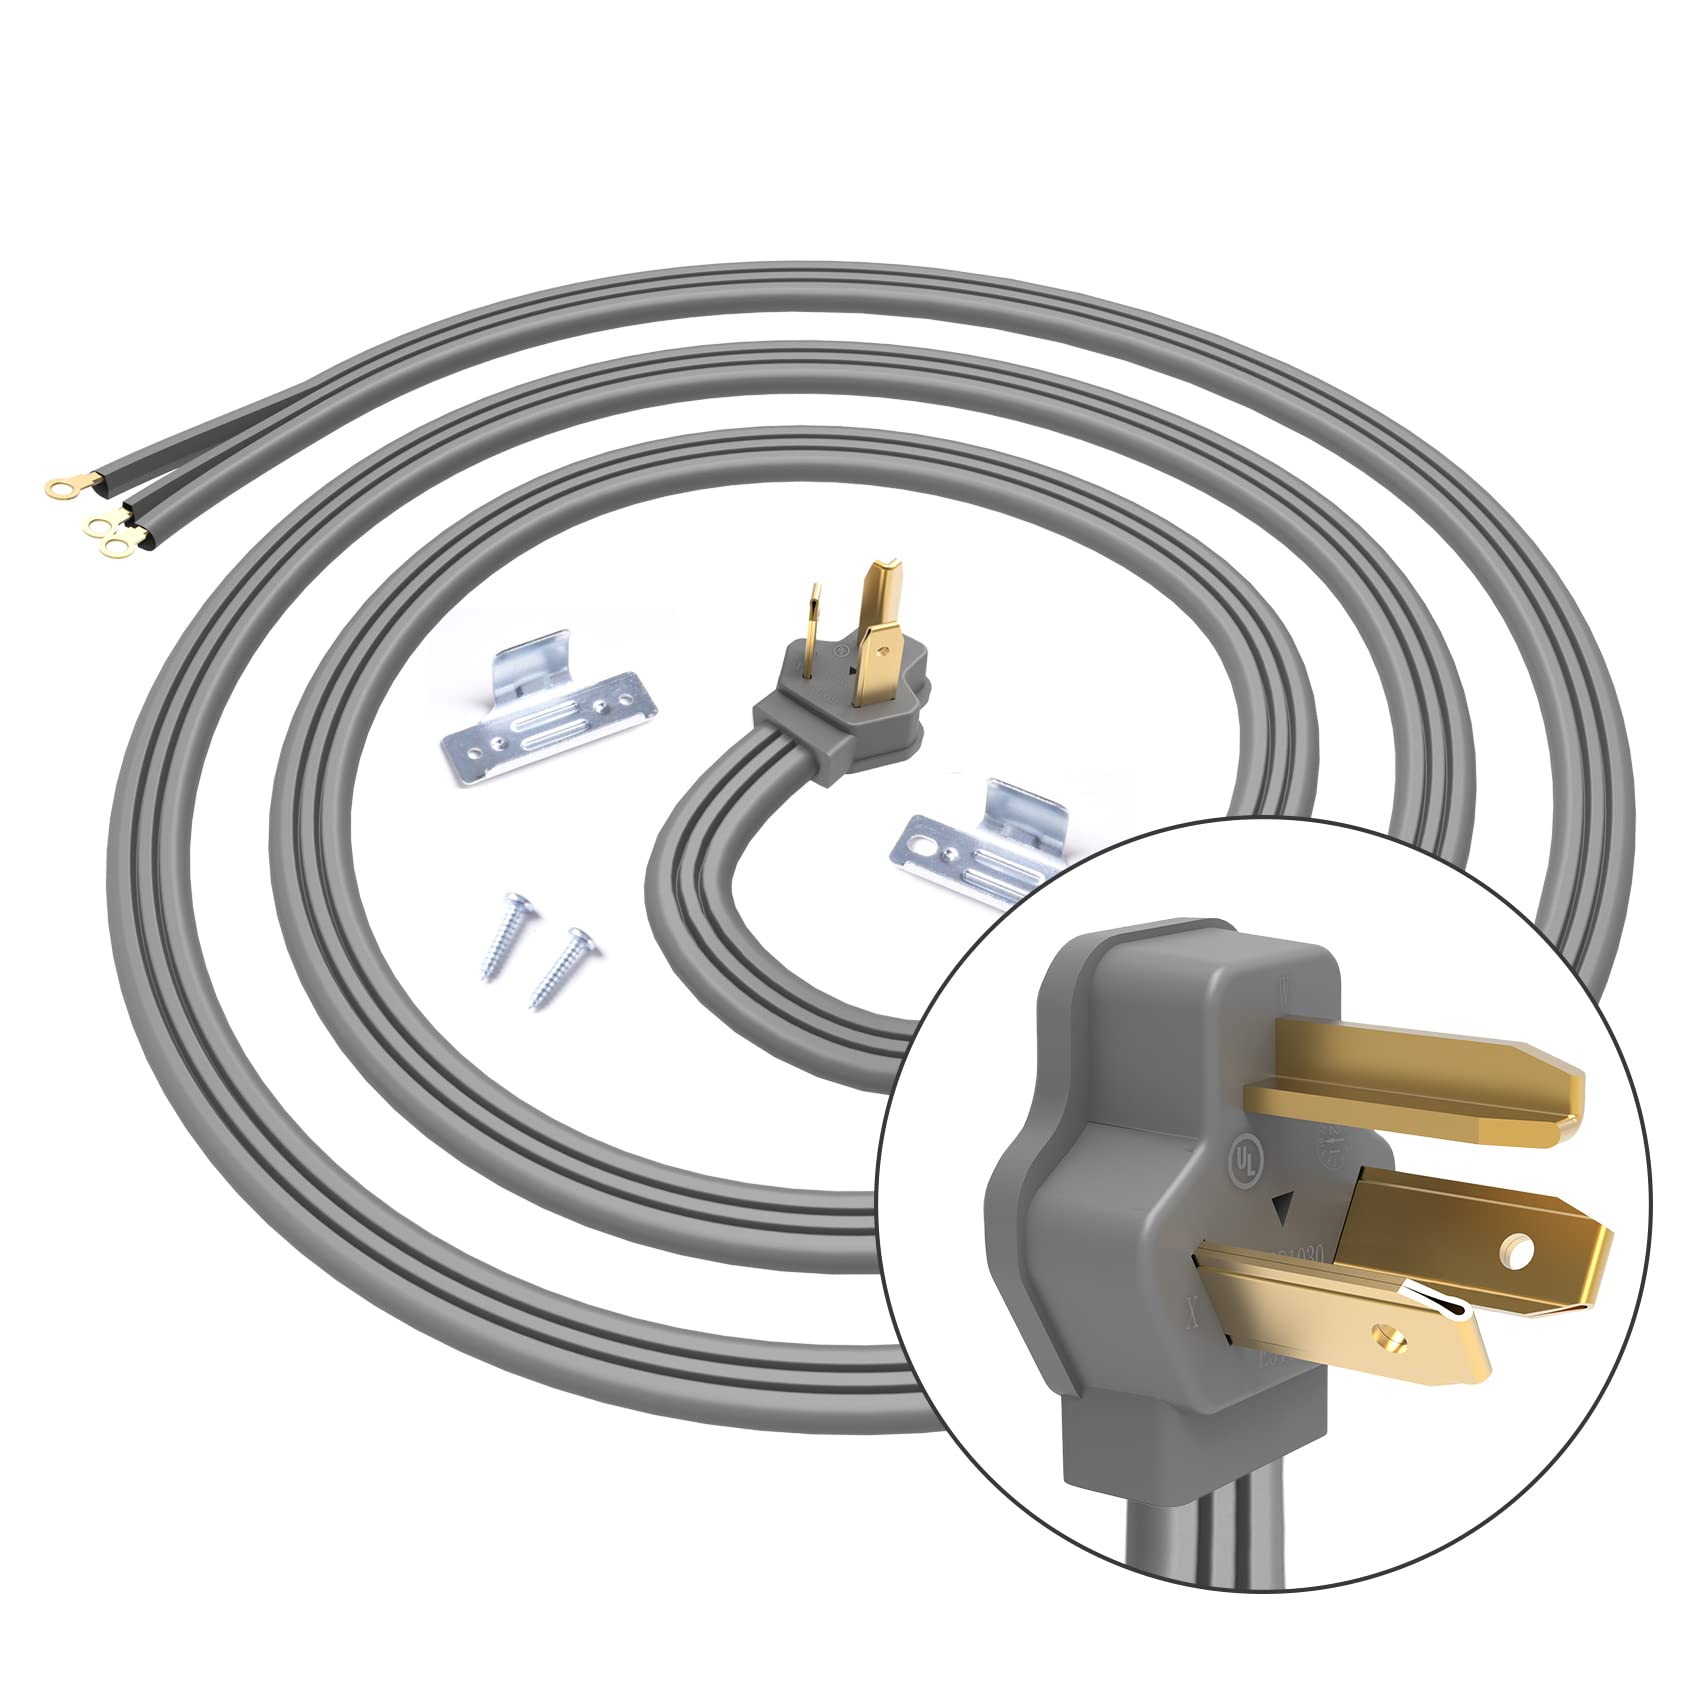
- Two Hot Prongs: These prongs, typically red and black, carry the 240-volt current that powers the heating element and drum motor.
- Neutral Prong: The white prong acts as the neutral conductor, completing the circuit and providing a return path for electricity.
- Ground Prong: The bare or green prong is the grounding conductor. It serves as a safety measure, protecting users from electrical shock in case of a malfunction.
The Two Faces of Dryer Cords: 3-Prong vs. 4-Prong
Dryer cords come in two varieties: 3-prong and 4-prong. Here’s a breakdown of the key differences:
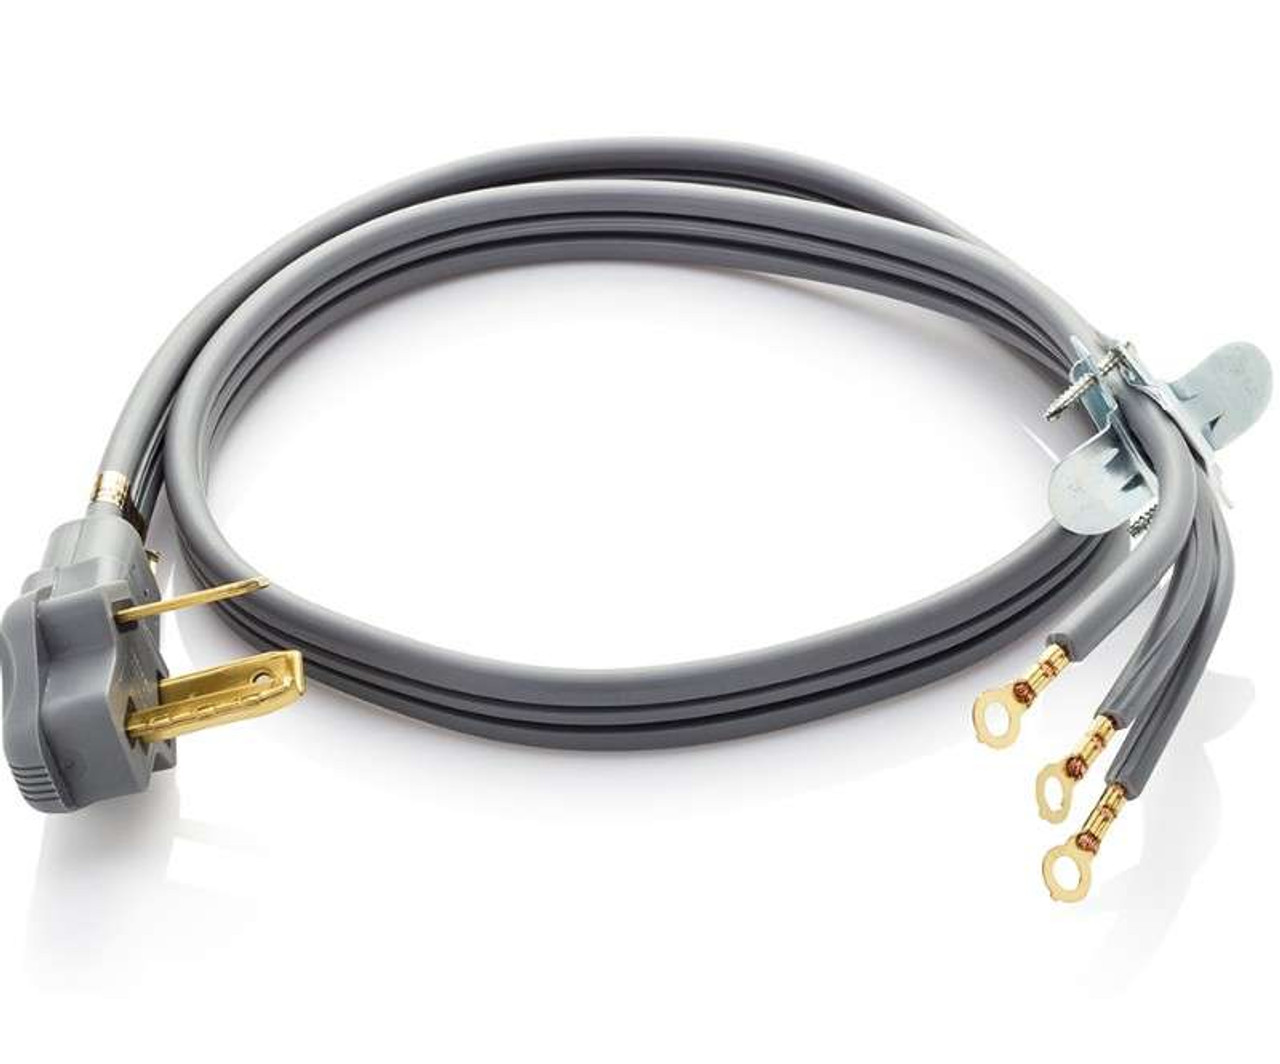
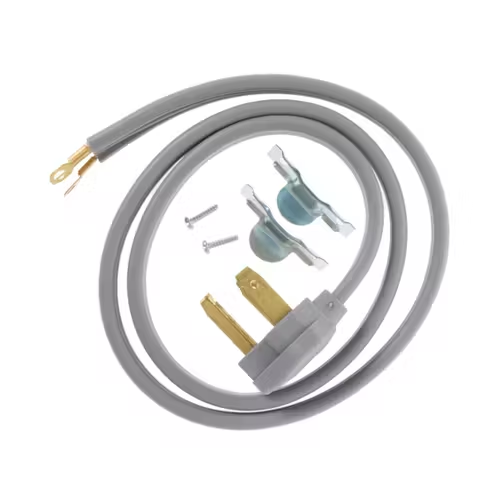
- 3-Prong Cord: This older design combines the neutral and ground wires into a single prong. It’s important to note that new dryer installations are prohibited from using 3-prong cords due to safety concerns. However, many older homes may still have them.
- 4-Prong Cord: This is the standard for modern dryers. It separates the neutral and ground wires for enhanced safety.
Matching Up: Dryer Outlet Compatibility
Just like the cord, dryer outlets also come in 3-prong and 4-prong configurations. It’s crucial to ensure your dryer cord matches the type of outlet you have. Here’s what to do:
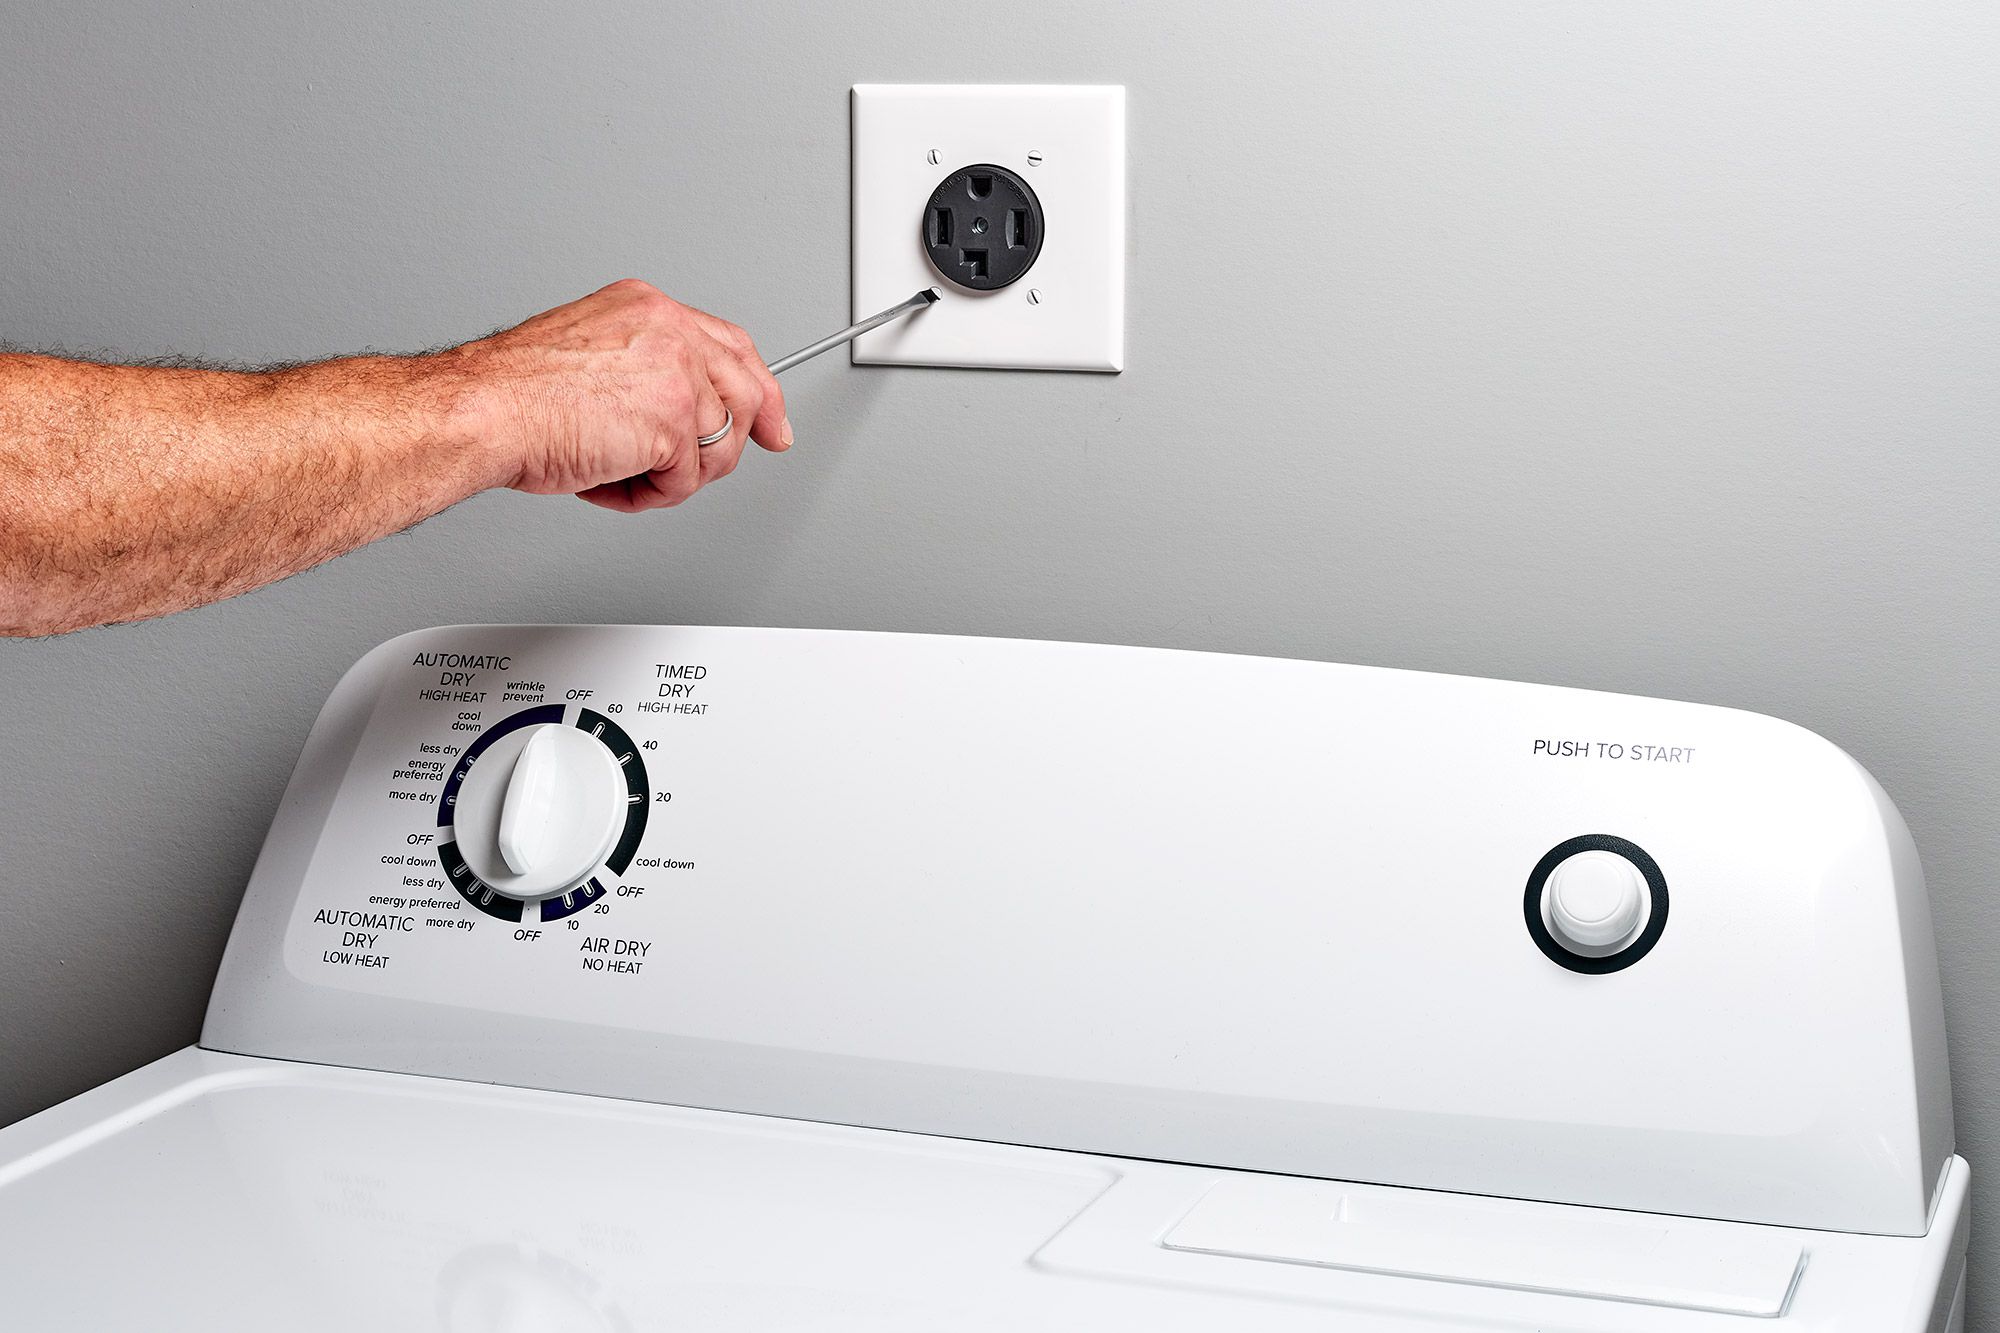
- Identify Your Outlet: Locate the dryer outlet in your laundry room. It will be a four-prong outlet in most modern homes, while older homes might have a three-prong outlet.
- Match the Cord: If you have a 4-prong outlet, you’ll need a 4-prong dryer cord. Conversely, a 3-prong outlet requires a 3-prong cord (though it’s highly recommended to upgrade to a 4-prong outlet and cord for safety reasons).
Safety First: Precautions Before You Begin
Before embarking on any electrical work, safety is paramount. Here are some essential precautions to take:
- Turn Off the Power: Locate the circuit breaker that controls the dryer outlet and turn it off completely. Double-check that the power is off using a voltage tester before proceeding.
- Gather the Right Tools: You’ll need a screwdriver, pliers, wire strippers, and possibly a UL-listed wire connector (depending on your specific situation).
- Consult a Professional If Needed: If you’re unsure about any aspect of the process, don’t hesitate to call a qualified electrician. Their expertise can ensure the job is done safely and correctly.
Wiring the Dryer Cord: A Step-by-Step Guide (4-Prong Cord)
Now that you’re armed with safety knowledge, let’s tackle wiring a 4-prong dryer cord:
- Prepare the Cord: Strip about ½ inch of insulation from each wire on the dryer cord. You’ll expose three colored wires (red, black, and white) and a bare copper ground wire.
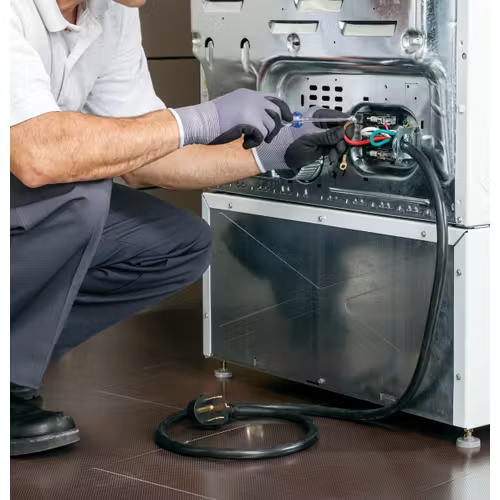
- Access the Dryer Terminal Block: Locate the terminal block at the back of the dryer. It typically has four screw terminals.
- Match the Wires: Connect the red wire from the cord to the red terminal on the block. Likewise, connect the black wire to the black terminal and the white wire to the white (neutral) terminal.
- Grounding the Connection: Secure the bare copper ground wire from the cord under the designated grounding screw on the terminal block. Tighten all the screws firmly with a screwdriver.
- Double-Check and Secure: Double-check that all the wires are securely connected to the corresponding terminals. Finally, wrap the cord around a strain relief clamp (usually located on the terminal block) and tighten the screw to prevent the cord from pulling loose.
Upgrading to a 4-Prong Outlet (Optional)
While some older dryers might be compatible with 3-prong cords, it’s strongly recommended to upgrade to a 4-prong outlet and cord for enhanced safety. Here’s a general overview of the process. However, this involves manipulating your home’s electrical system and can be risky if not done correctly. Consult a qualified electrician for this task, especially if you’re uncomfortable with electrical work.
Things to Consider Before Upgrading:
- Local Codes: Electrical codes can vary by location. Ensure the upgrade adheres to your area’s regulations.
- Circuit Breaker Compatibility: Verify that your existing circuit breaker can handle the 240-volt load required by a dryer. Upgrading the breaker might be necessary.
- Running New Wire: Installing a 4-prong outlet often necessitates running new 10-gauge wire from the circuit breaker panel to the dryer location. This can involve accessing walls and ceilings.
The Importance of Professional Help:
Upgrading a dryer outlet is a complex task that demands expertise in electrical wiring. Even a seemingly minor mistake can lead to serious safety hazards. Don’t hesitate to call a licensed electrician to ensure the job is completed safely and up to code.
The Peace of Mind of a Professional:
A qualified electrician can assess your specific situation, obtain necessary permits, and handle the entire upgrade process efficiently. This ensures your dryer is properly connected and provides peace of mind knowing the work adheres to safety standards.
The Alternative: Hiring a Dryer Installation Service
Many appliance retailers offer dryer installation services, which often include connecting the dryer to the appropriate outlet. This can be a convenient option, especially if you’re purchasing a new dryer.
Moving Forward with Confidence
By understanding dryer plug wiring and the importance of safety, you’re well on your way to ensuring your dryer functions optimally. For more complex tasks like outlet upgrades, don’t be afraid to seek professional help. Remember, a properly wired dryer is a safe and efficient dryer, keeping your clothes dry and your home hazard-free.

