The humble electrical plug seems innocuous enough. We plug them in daily without a thought, relying on them to power our devices and keep our lives running smoothly. But beneath that plastic shell lies a world of wires and connections, ensuring safe and efficient electricity flow. Understanding electrical plug wiring, even at a basic level, can empower you to tackle minor repairs and cultivate a deeper appreciation for the silent workhorses that keep our homes buzzing.
Safety First: Essential Precautions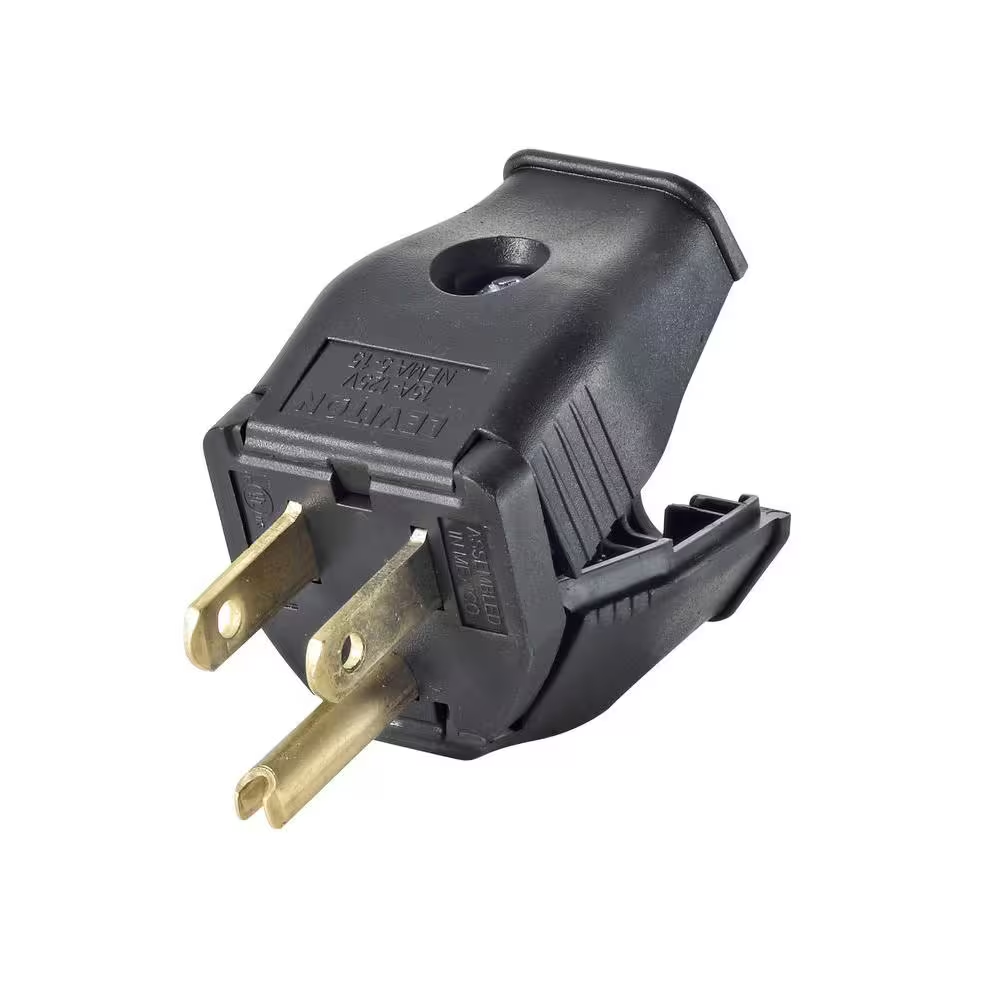
Before delving into the how-to, safety is paramount. Electricity is no friend to the careless. Here are some crucial precautions to take:
- Always unplug the appliance before working on the plug. This cuts off the power source and prevents accidental shocks.
- Work in a well-lit area. Good lighting allows you to see the wires clearly and avoid mistakes.
- Use the right tools. Invest in a good pair of wire strippers and lineman’s pliers for safe and efficient work.
- Never work with a damaged cord. A frayed or cracked cord poses a serious fire hazard. Replace the entire cord if necessary.
- If unsure, seek professional help. Electrical work requires expertise. If you’re not confident in your abilities, it’s always best to call a qualified electrician.

Anatomy of a Plug: Understanding the Parts
Now, let’s dissect a plug and understand its components. A typical plug consists of:
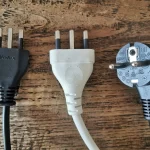
- Prongs: These metal connectors physically connect the plug to the outlet. Two-prong plugs are common for low-powered devices, while three-prong plugs have a grounding prong for added safety with high-powered appliances.
- Cord: This flexible cable carries electricity from the outlet to the appliance. It usually consists of two or three insulated wires.
- Plug housing: This plastic casing provides insulation and protects the internal components from damage.
- Screws or terminals: These connect the wires from the cord to the prongs within the housing.
Polarity Matters: Distinguishing Hot and Neutral
In some plugs, the prongs are identical in size. However, in polarized plugs, one prong is wider than the other. This seemingly minor difference is crucial for safety and proper functioning. The wider prong is the neutral wire, which carries electricity back to the circuit after it has been used by the appliance. The narrower prong is the hot wire, which carries the live electricity from the outlet. It’s essential to connect these wires to the corresponding prongs in the plug. Messing with polarity can lead to shocks and damage to the appliance.
For polarized plugs, the wires themselves might offer clues. The neutral wire might be white or silver, while the hot wire might be black, red, or copper-colored. However, relying solely on color coding can be risky, as wire colors can vary depending on the appliance and region. Always double-check with a reliable source or consult a professional if unsure.

Replacing a Plug: A Step-by-Step Guide
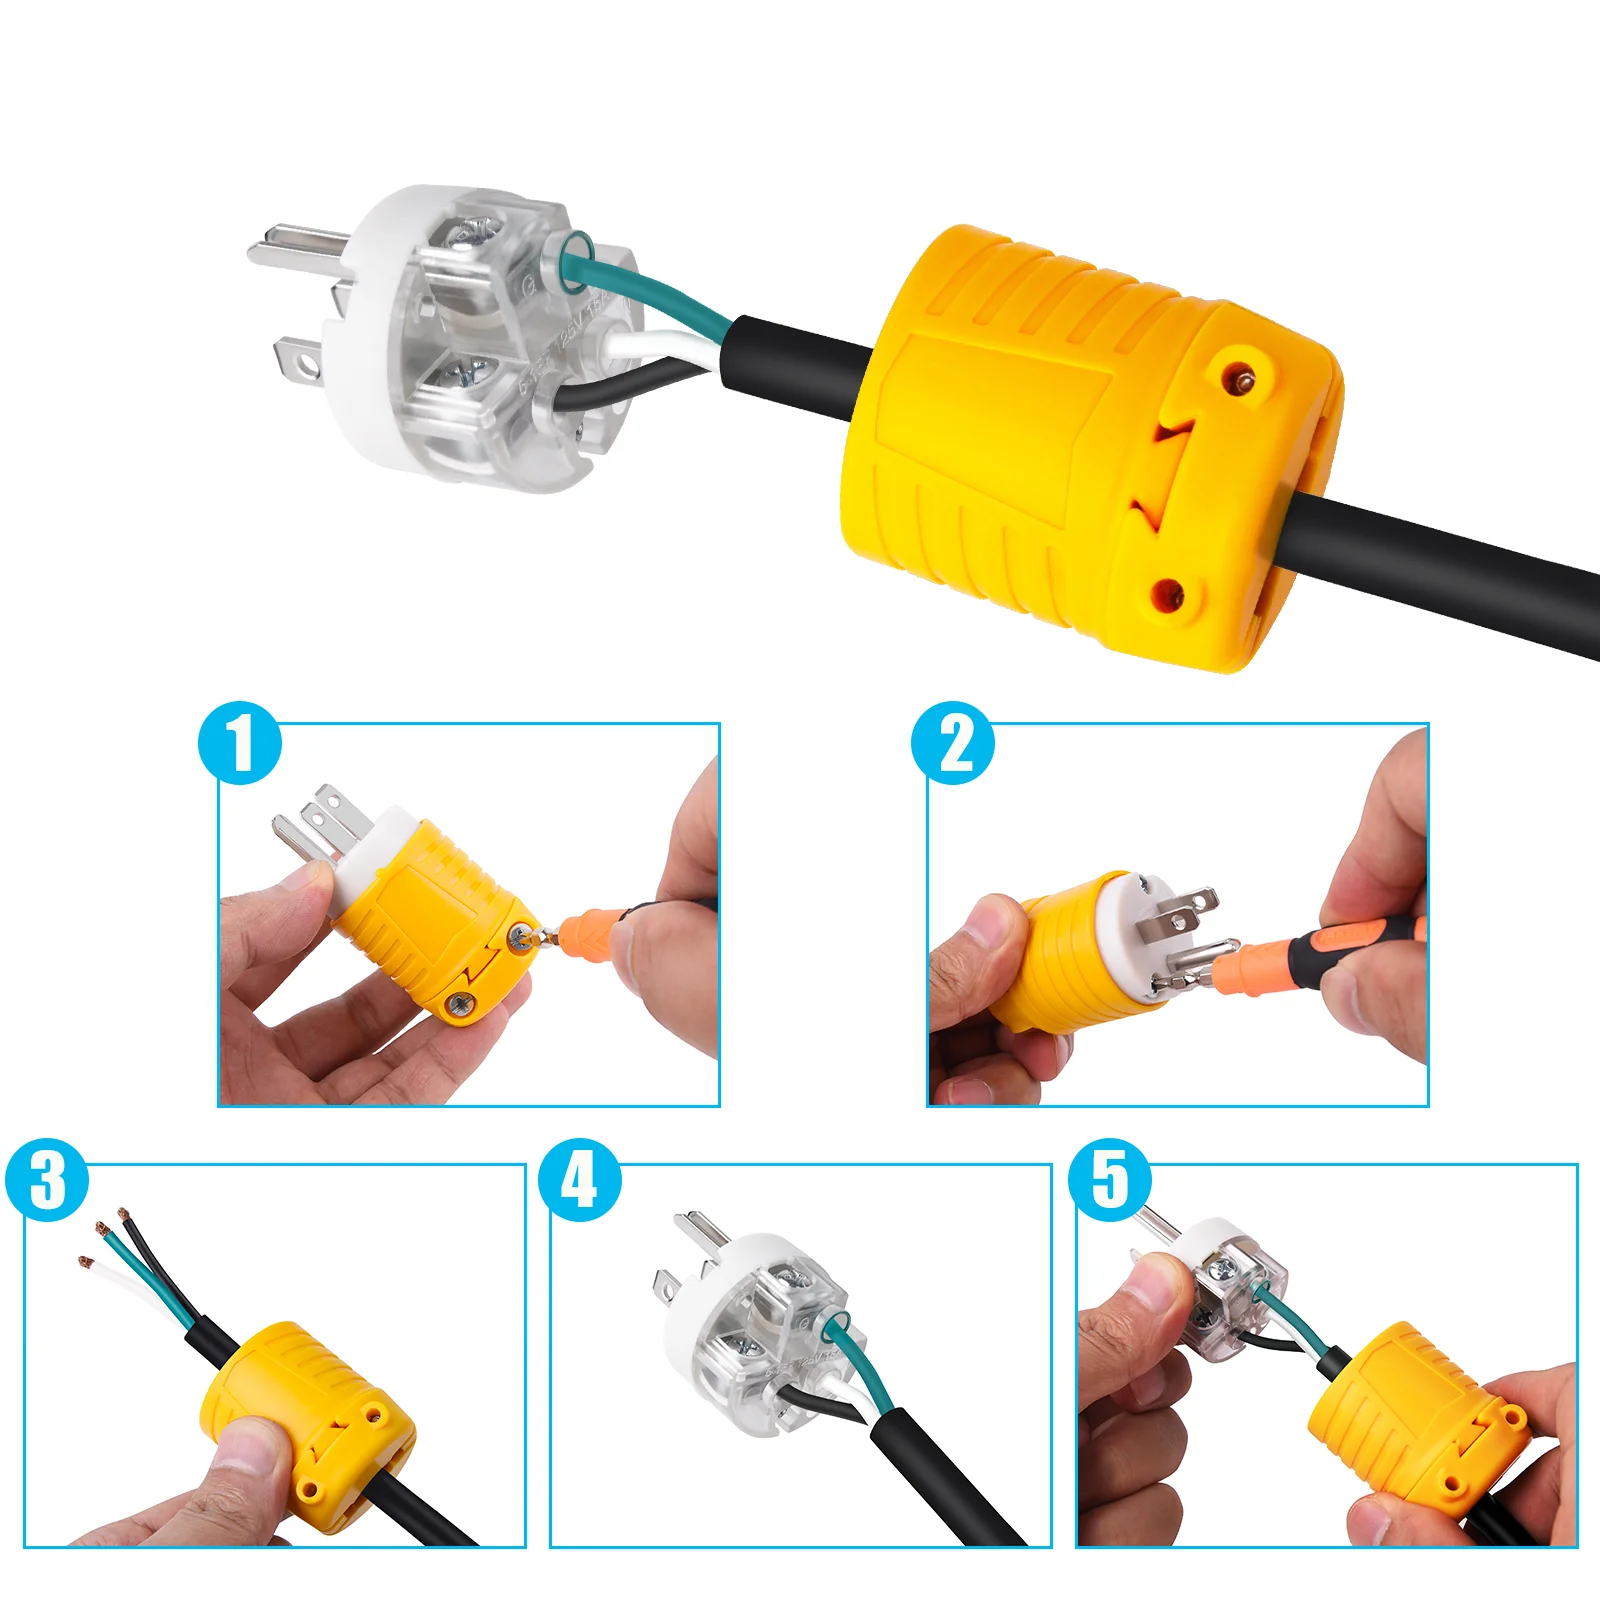
Now that you’re armed with safety knowledge and basic plug anatomy, let’s walk through the steps of replacing a damaged plug on a two-wire cord (assuming you’ve confirmed it’s a safe DIY project).
- Gather your tools: You’ll need a replacement plug (matching the cord type), wire strippers, lineman’s pliers, and a screwdriver.
- Cut the cord: Using sharp wire strippers, carefully remove about 1/2 inch of insulation from each wire at the end of the cord.
- Identify the wires: If your cord has colored wires, black is typically hot and white is neutral. Double-check with a manual or consult an electrician if unsure.
- Shape the wires: Using needle-nose pliers, bend the bare end of each wire into a small hook shape (clockwise for screw terminals).
- Attach the wires: Loosen the terminal screws on the replacement plug. Match the hot wire to the screw terminal that typically corresponds to the narrower prong (often brass-colored). Similarly, connect the neutral wire to the screw terminal for the wider prong (usually silver-colored). Tighten the screws securely.
- Assemble the plug: Double-check all connections are secure and wires aren’t touching. Carefully tuck the wires inside the housing and screw the housing halves together firmly.
Note: This is a general guideline. The specific steps might vary depending on the type of plug and cord. Always refer to the instructions that come with the replacement plug for specific guidance.
Clarifying doubts about specific scenarios or concerns
Having a good understanding of electrical plug wiring empowers you to tackle some repairs, but it’s important to know your limits. Here’s how I can help clarify doubts about specific scenarios or concerns:
Is it a Safe DIY Project?
- If the damage is limited to the plug itself and the cord appears undamaged, replacing the plug might be a manageable DIY project. However, if the cord is frayed, cracked, or has internal damage, it’s best to replace the entire cord for safety.
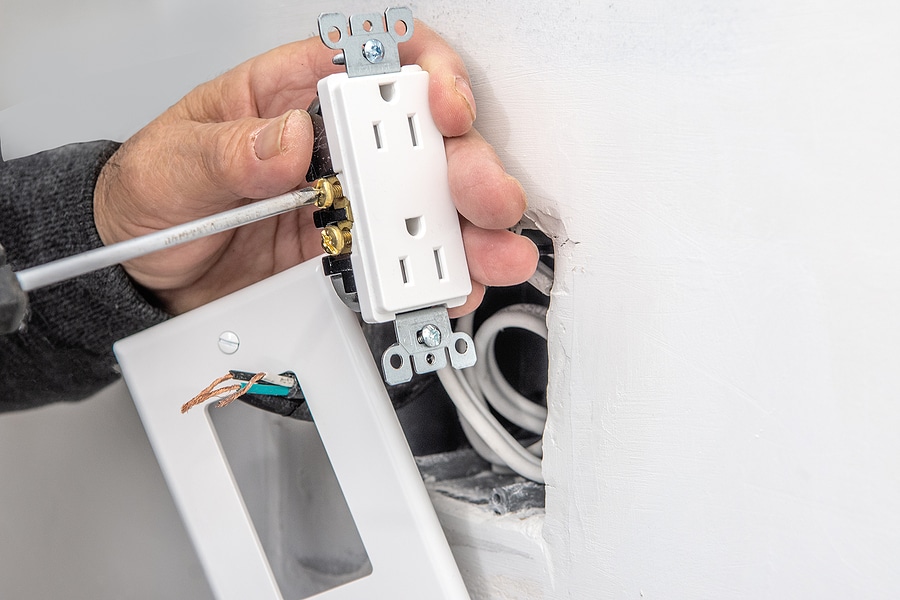
- For any repairs involving the actual wiring within your home (like fixing an outlet), it’s crucial to call a qualified electrician.
Uncertain about Wire Colors?
- While black and white are common for hot and neutral wires respectively, relying solely on color coding can be risky. Different regions or appliances might have variations.
- If unsure about wire colors, consider these options:
- Look for a manual or diagram specific to your appliance.
- Use a non-contact voltage tester to identify the hot wire (it will usually beep or light up).
- If all else fails, consult a professional electrician.
Replacing a Three-Prong Plug?
- The process for replacing a three-prong plug is similar to a two-prong one, but with an additional grounding wire. Make sure the replacement plug is designed for three-prong cords and identify the grounding wire (usually bare copper or green).
- If you’re not comfortable with the extra complexity, it’s best to call an electrician for a three-prong plug replacement.
General Safety Concerns?
- Always remember to unplug the appliance before working on the plug.
- Work in a well-lit area and use the right tools like wire strippers and lineman’s pliers.
- Double-check all connections are secure before plugging the appliance back in.
Remember: When in doubt, always prioritize safety. If a project feels too complex or you’re unsure about any step, it’s never a bad idea to call a qualified electrician for peace of mind.
Beyond the Basics: Three-Prong Plugs and Grounding
Three-prong plugs offer an additional layer of safety with a grounding prong. This prong connects to a grounding wire within the cord, which in turn connects to the grounding system of your home’s electrical circuit. In case of a fault or short circuit.