For many, recreational vehicles (RVs) represent freedom and adventure on the open road. But before hitting the highway, ensuring a safe and reliable electrical connection is crucial. This is where RV plug wiring comes into play. It’s the invisible force that powers your RV’s electrical systems, keeping everything from air conditioning to refrigerators running smoothly.
This article takes you on a comprehensive journey through the world of RV plug wiring. We’ll explore the different types of RV plugs, delve into the wiring configurations, and equip you with the knowledge to troubleshoot minor issues. So, buckle up and get ready to conquer the world of RV electrical connections!
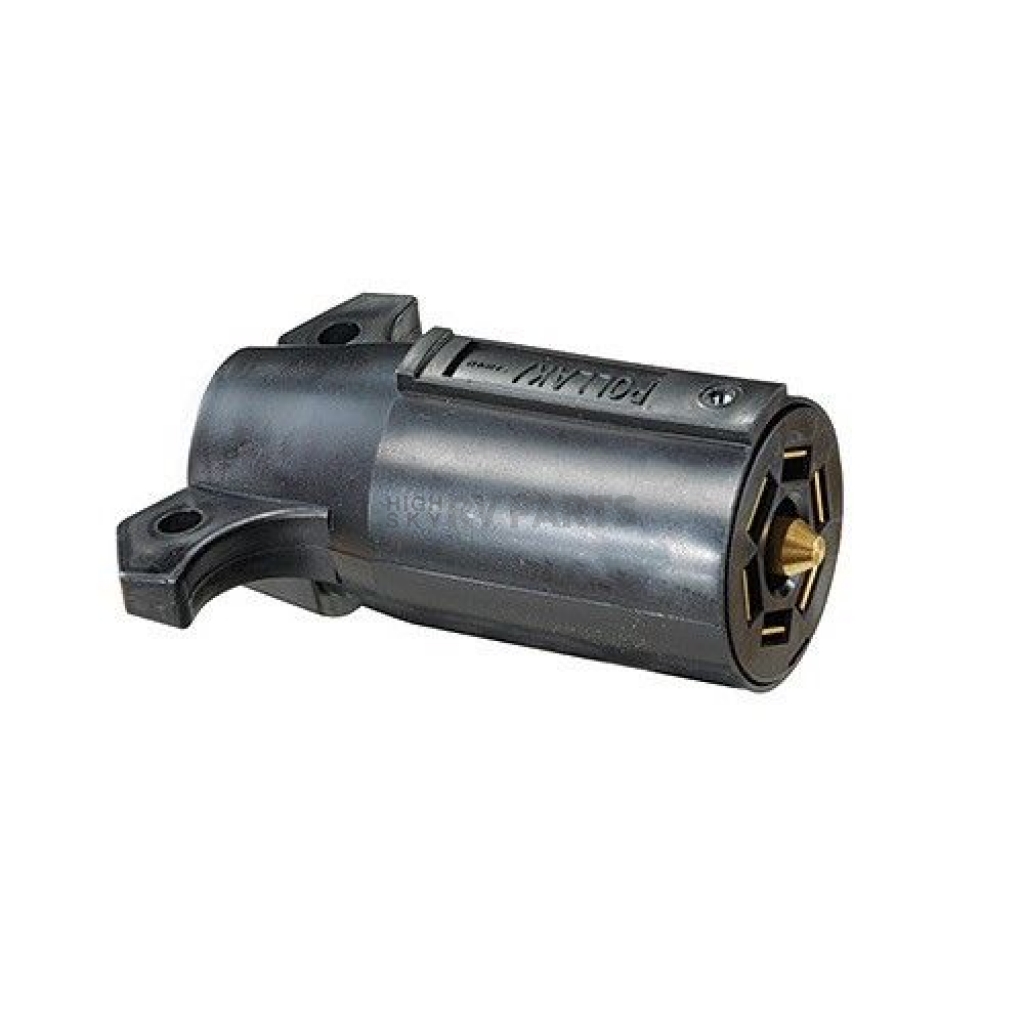
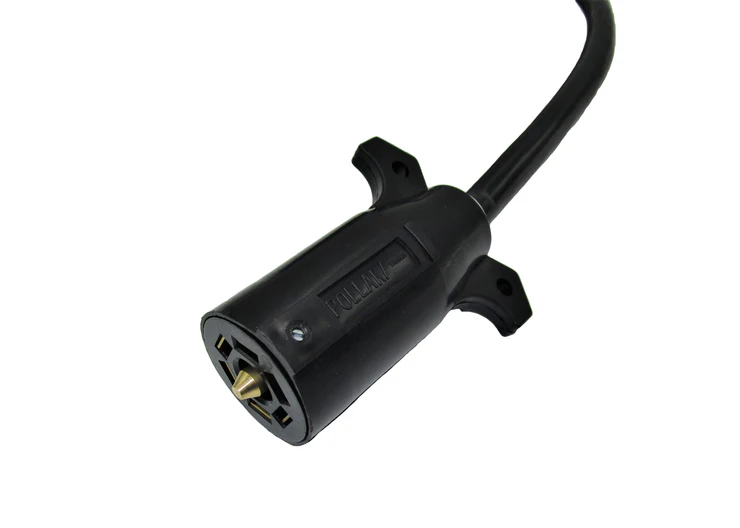
Understanding RV Plugs: A Tale of Amps and Volts
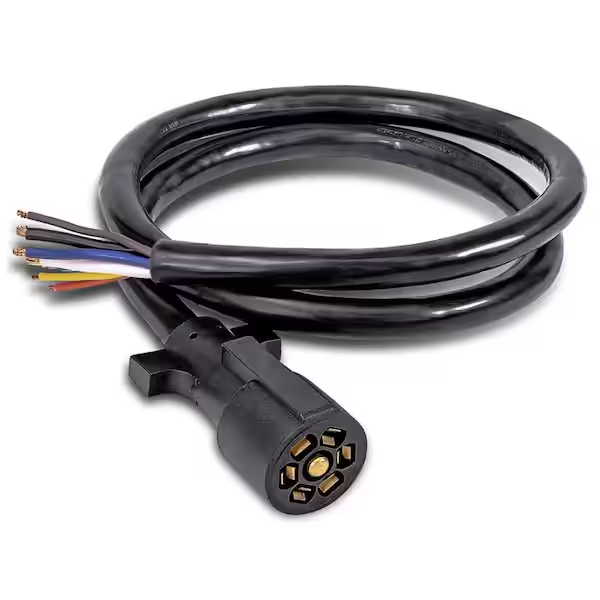
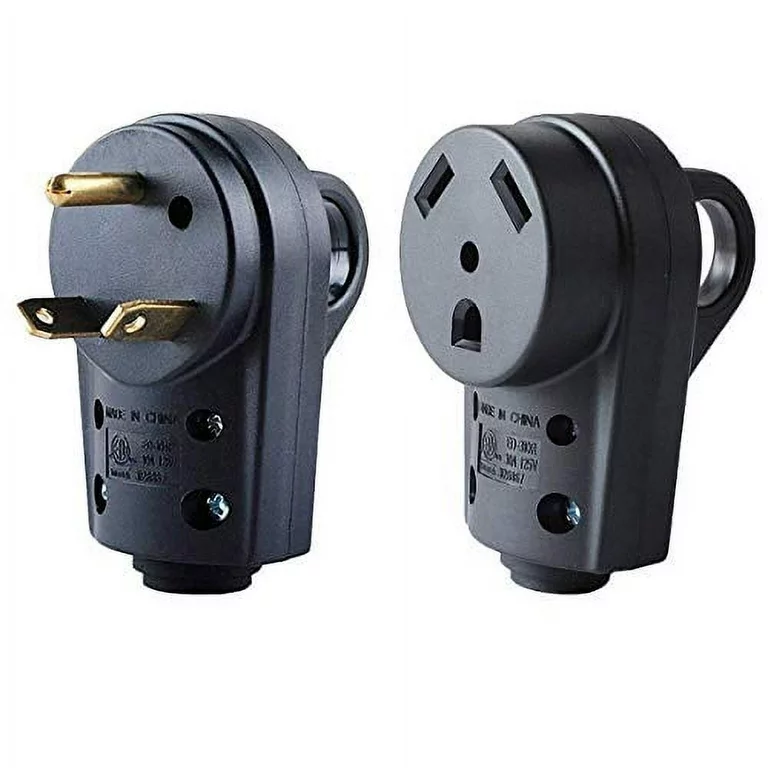
There are two main types of RV plugs in North America: 30-amp and 50-amp. The amperage (amp) rating indicates the maximum current a plug can handle, directly impacting the power available to your RV.
- 30-amp RV plugs are typically used for smaller RVs with basic electrical needs. They have a three-prong configuration: one black (hot), one white (neutral), and one green (ground).
- 50-amp RV plugs cater to larger RVs with higher power demands, like air conditioners and powerful appliances. These feature a four-prong design: two black (hot), one white (neutral), and one green (ground).
The voltage (volt) rating for both plugs is typically 120/240 volts, providing a split-phase power supply to your RV. This means you have two 120-volt circuits feeding your RV’s electrical system, allowing for the operation of both low- and high-power appliances.
Inside the Plug: A Peek at the Wiring
Now, let’s delve into the nitty-gritty of RV plug wiring. Here’s a breakdown of the wires and their functions:
- Black wires (hot): These carry the actual electrical current to power your RV’s appliances. In a 30-amp plug, there’s one black wire, while a 50-amp plug has two.
- White wire (neutral): This wire acts as a return path for the electrical current, completing the circuit.
- Green wire (ground): This vital wire provides a safety measure by grounding any stray electrical current, preventing shocks.
It’s crucial to remember that these wires should never be interchanged. Incorrect wiring can lead to electrical damage, malfunctions, and even fire hazards.
Conquering the Connection: How to Wire an RV Plug
While it’s recommended to consult a qualified electrician for RV plug wiring, understanding the basics can be helpful. Here’s a simplified overview for informational purposes only:
Tools and Materials:
- RV plug (30-amp or 50-amp)
- Wire strippers
- Wire cutters
- Screwdriver
- Electrical tape
Steps:
- Turn off the power: This is paramount for safety. Ensure the breaker supplying the RV outlet is switched off at the main electrical panel.
- Strip the wires: Carefully strip a short section of insulation (around ½ inch) from the ends of each wire using the wire strippers.
- Match the wires: Connect the bare wire ends to the corresponding terminals on the RV plug. Typically, the green wire goes to the green grounding screw, the white wire to the silver neutral terminal, and the black wires (one or two depending on the plug) to the brass hot terminals. Double-check the color coding on the plug for confirmation.
- Secure the connections: Tightly screw down the terminal screws on the plug to ensure a secure connection for each wire.
- Wrap with electrical tape: Use electrical tape to insulate any exposed copper wire at the base of the terminal screws, preventing accidental shorts.
Remember: This is a simplified overview, and professional guidance is highly recommended, especially for complex wiring tasks.

Troubleshooting Common RV Plug Issues: A DIY Approach
If you encounter minor issues with your RV plug, here are some troubleshooting tips you can try:
- Loose connections: Over time, connections can loosen. Check the terminal screws on the plug and tighten them if necessary.
- Damaged wires: Inspect the wires for any cuts, nicks, or fraying. If you find damage, replace the entire plug for safety reasons.
- Faulty plug: If the troubleshooting steps don’t resolve the issue, the RV plug itself might be faulty. Consider replacing it with a new one of the same amperage rating.
For any electrical problems beyond these basic checks, it’s always best to seek help from a qualified electrician.
Safety First: Essential Tips for Working with RV Plugs
Here are some essential safety tips to remember when working with RV plugs:
- Always turn off the power: Before starting any electrical work, ensure the breaker supplying the RV outlet is switched off at the main electrical panel. Double-check and use a voltage tester to confirm there’s no current flowing.
- Leave complex tasks to professionals: While this article provides a basic overview, wiring an RV plug, especially a 50-amp one, can be complex. If you’re unsure about any step, don’t hesitate to call a qualified electrician. Their expertise can prevent electrical hazards and ensure a safe connection.
- Inspect for damage: Regularly examine your RV plug for any signs of wear and tear, such as loose connections, cracked plastic, or damaged wires. Replace a faulty plug immediately to avoid potential problems.
- Use the right tools: Invest in proper tools like wire strippers, cutters, and a screwdriver with insulated handles. These tools ensure safe handling and prevent accidental shorts.
- Mind the weather: Avoid working on RV plugs in wet or humid conditions. Moisture can interfere with electrical connections and increase the risk of shocks.
Beyond the Basics: Additional Considerations for RV Plug Wiring
Here’s a look at some additional factors to consider for RV plug wiring:
- RV park compatibility: Ensure your RV plug matches the outlet type available at the RV park you plan to visit. Most parks offer 30-amp or 50-amp hookups. Using an adapter for incompatible plugs is not recommended due to potential safety concerns.
- Surge protection: Consider installing a surge protector between your RV plug and the power source. This safeguards your RV’s electrical system from damaging voltage spikes.
- Proper grounding: A secure ground connection is vital for safety. Double-check that the green grounding wire on your RV plug is properly connected to the grounding terminal at the outlet box.
By following these tips and considerations, you can ensure a safe and reliable electrical connection for your RV adventures. Remember, when in doubt, always seek professional help from a qualified electrician.
Conclusion: Powering Your Adventures Safely
Understanding RV plug wiring empowers you to maintain a secure electrical connection for your RV. Whether you’re troubleshooting minor issues or simply seeking knowledge, this guide equips you with the basics.